Painting Pressure Treated Wood: What You Need to Know
Is it possible to paint pressure treated wood? The answer is yes, but there are a few things you need to know before you get started. In this blog post, we will discuss the proper way to paint pressure treated wood and the types of paint that work best. We will also cover how to prepare the surface and what kind of finish you can expect. So if you’re wondering whether or not you can paint pressure treated wood, read on for more information!
Introduction: Can You Paint Pressure Treated Wood?
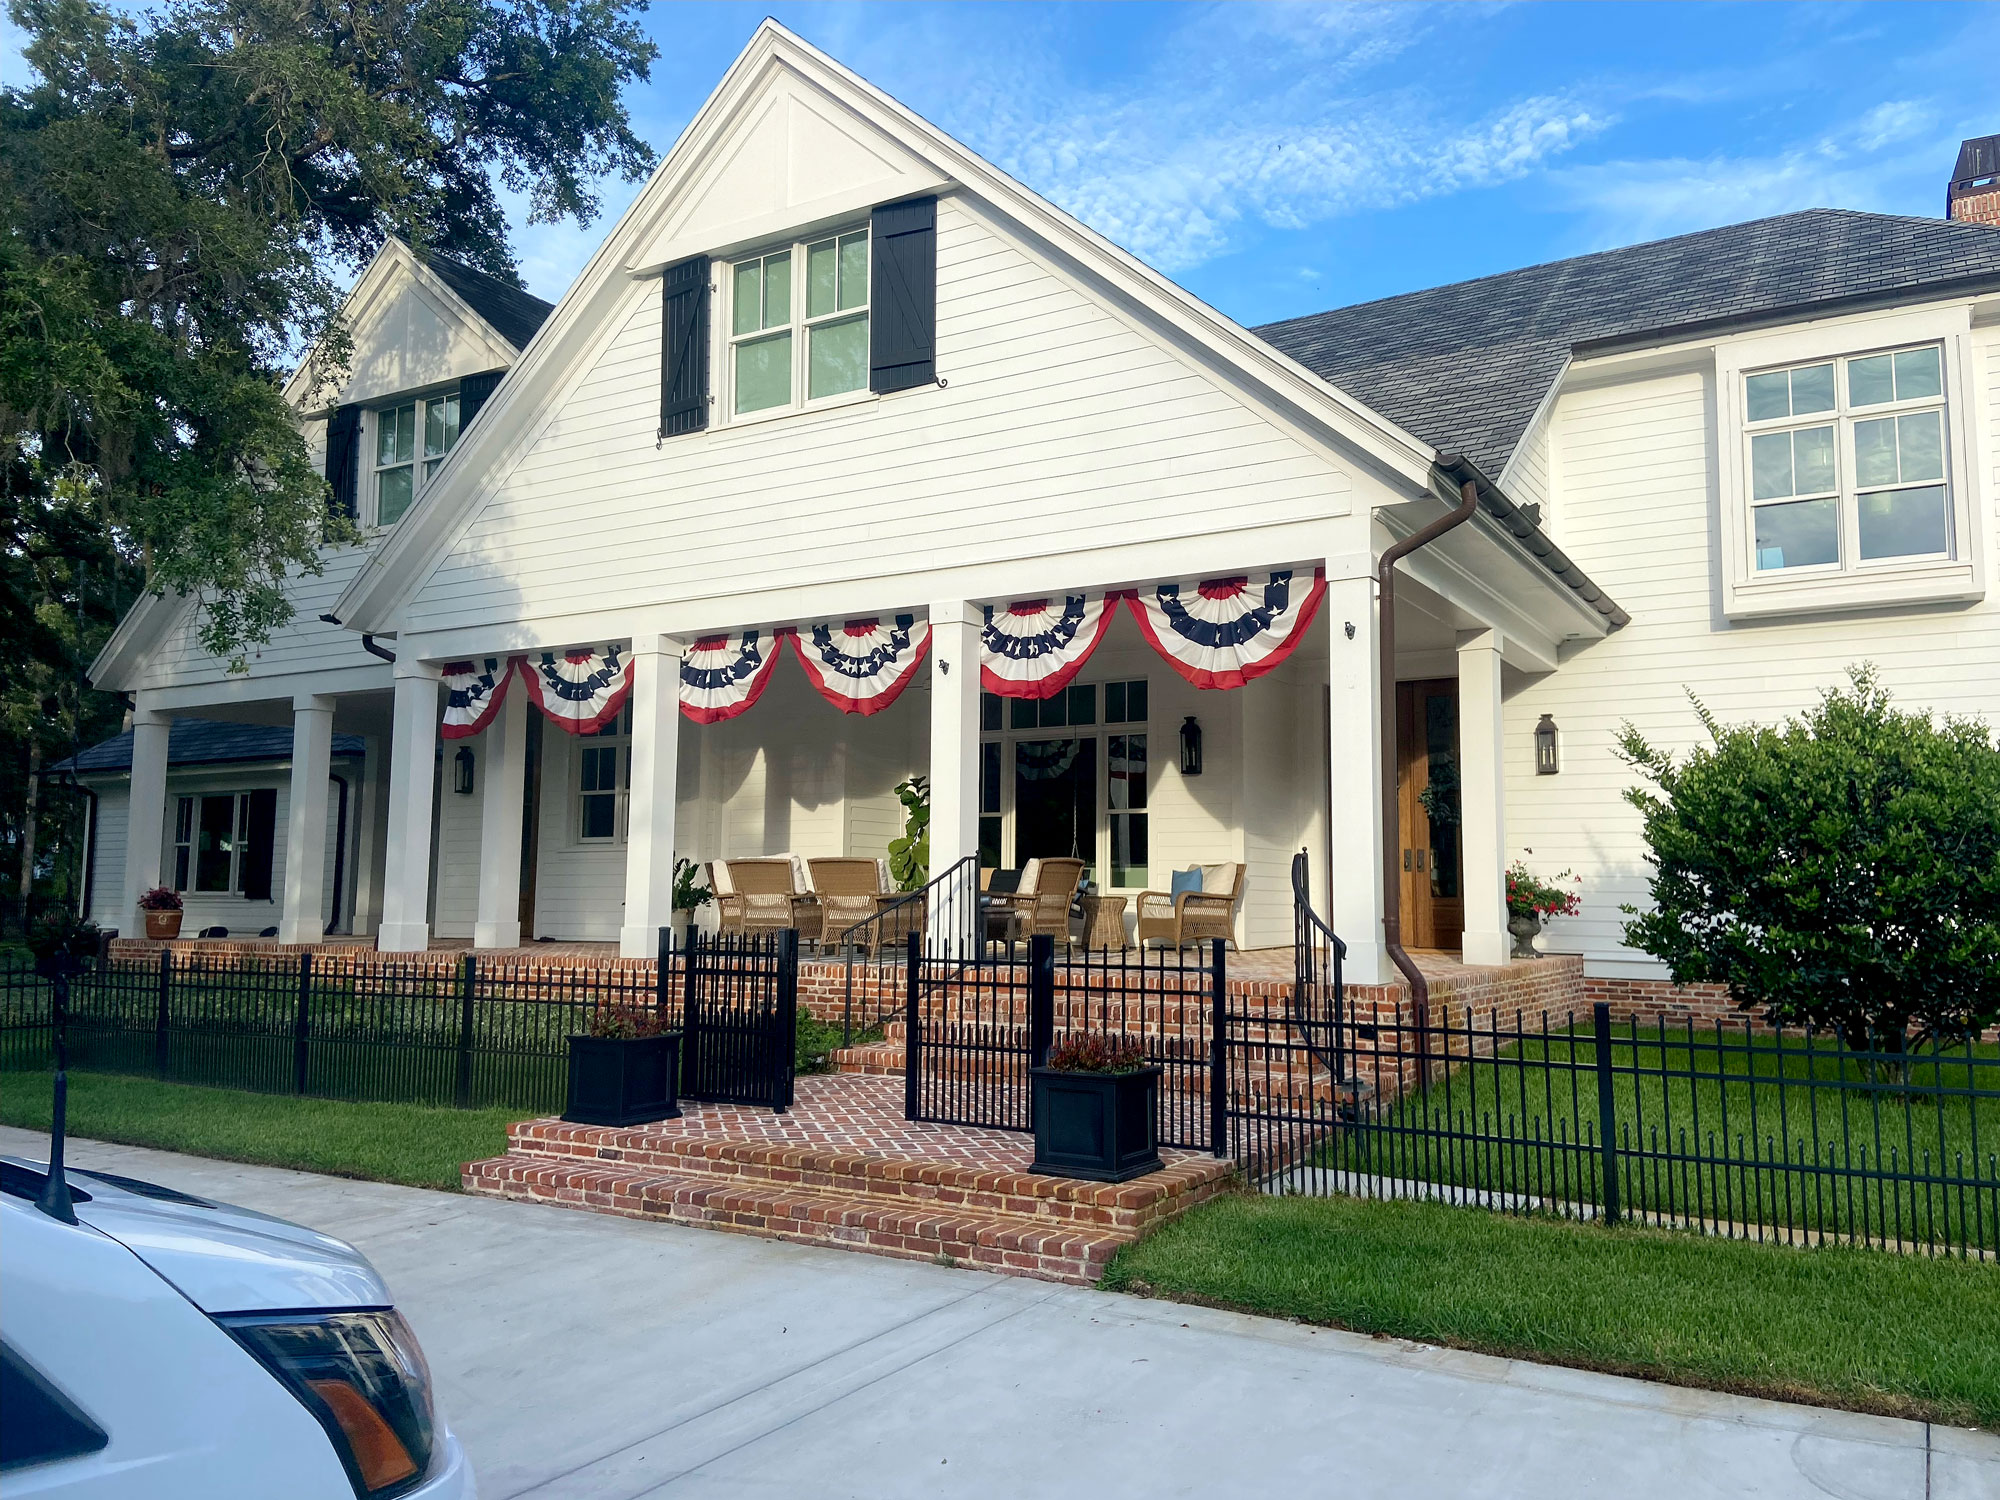
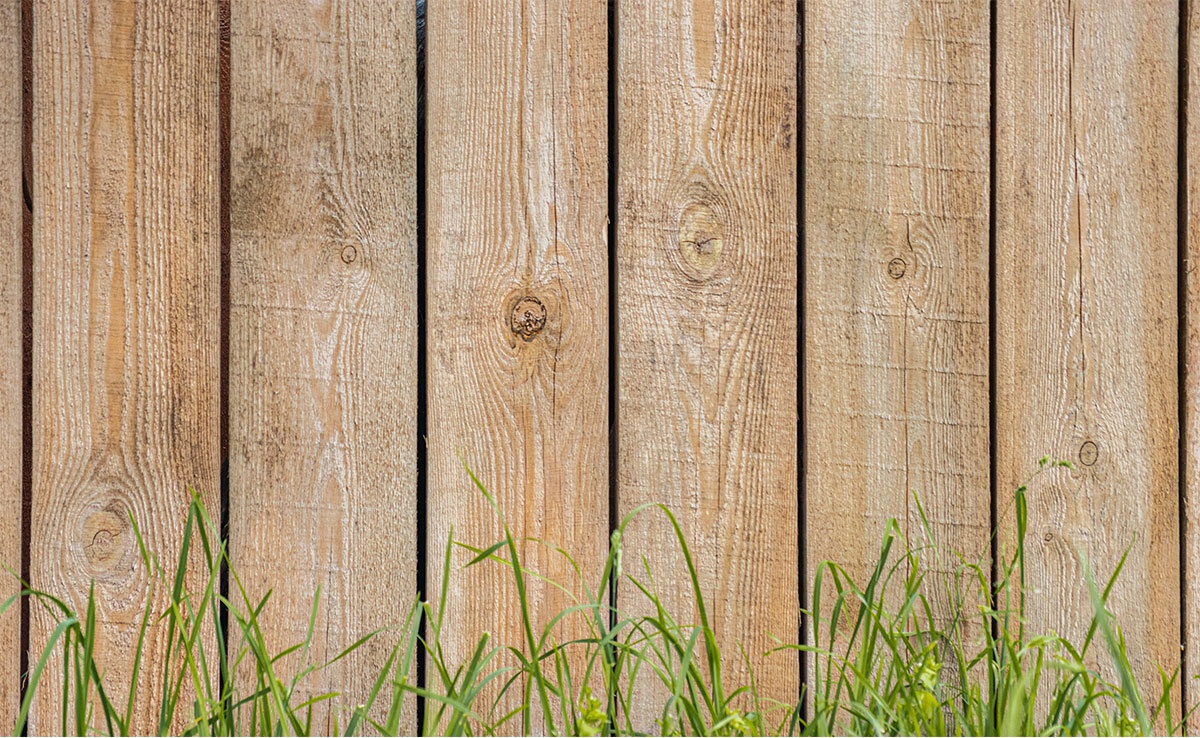
As the name suggests, pressure treated wood is wood that has been treated with a chemical or preservative to protect it from rot, insects, and other forms of damage. The most common type of pressure treated wood is pine, although other types such as cedar and redwood are also available.
One of the benefits of pressure treated wood is that it is relatively easy to maintain. However, one of the drawbacks is that it can be difficult to paint. The main reason for this is that the chemicals in the wood can react with the paint, causing it to chip or peel.
If you do decide to paint pressure treated wood, it is important to use a primer designed specifically for this purpose. You may also need to sand the surface of the wood before painting, in order to provide a smooth surface for the paint to adhere to.
How to Prepare the Surface
When prepping a surface for painting or staining, there are a few basic steps that should always be followed in order to ensure the best results. First, the surface should be cleaned thoroughly with a mild detergent and water. Any dirt, grease, or other contaminants will prevent the paint or stain from adhering properly and can also lead to an uneven finish. Once the surface is clean, it should be allowed to dry completely before proceeding.
Next, any old paint or varnish should be removed. This can be done with a chemical stripper or by sanding. If sanding, it’s important to use a fine-grit sandpaper so as not to damage the underlying surface. Once all the old paint or varnish has been removed, the surface should again be cleaned before proceeding.
Once the surface has been prepped, it’s time to apply a primer. A primer will help the paint or stain to adhere better and will also provide a more even finish. When applying primer, it’s important to follow the manufacturer’s instructions carefully. In most cases, primer should be allowed to dry for at least 24 hours before painting or staining.
Finally, once the primer is dry, it’s time to apply the paint or stain of your choice. Again, be sure to follow the manufacturer’s instructions carefully in order to achieve the best results.
The Types of Paint That Work Best
There are three main types of paint that can be used on a variety of surfaces: latex, oil-based, and enamel. Each type has its own unique set of benefits and drawbacks that should be considered before beginning a painting project.
Latex paint is the most commonly used type of paint. It is made from water-soluble synthetic polymers and can be easily cleaned up with soap and water. Latex paint is available in a wide range of colors and can be used on both interior and exterior surfaces. One of the biggest advantages of latex paint is that it dries quickly, making it ideal for projects that need to be completed in a timely manner. However, latex paint can also be difficult to work with, as it can often leave behind streaks or brush marks.
Oil-based paint is another popular type of paint. Unlike latex paint, oil-based paint is made from petroleum-based solvents. Oil-based paint takes longer to dry than latex paint, but it is more durable and resistant to wear and tear. Oil-based paint is often used for high-traffic areas such as kitchens and bathrooms, as well as for trim work and cabinetry. One downside of oil-based paint is that it emits strong fumes, so proper ventilation is essential when working with this type of product.
Enamel paint is a type of paint that dries to a hard, glossy finish. Enamel paint is often used on metal surfaces such as cabinets and hardware, as well as on glass or ceramic tile. Enamel paint can also be used on wood surfaces, but it should be sealed first to prevent the wood from discoloring the finish. Enamel paint dries slowly, so it is important to allow plenty of time for the project to cure before using the space.
The Finish You Can Expect
If you’re looking for a high-quality finish on your next project, you can expect to get just that with the right tools and techniques. Here are a few things to keep in mind when seeking out a great finish:
1. The type of material you’re working with will play a role in the kind of finish you can expect. For instance, natural materials like wood or stone will have a different kind of finish than man-made materials like metal or plastic.
2. The level of detail you desire will also affect the kind of finish you can achieve. If you’re looking for a very intricate and detailed finish, it’s important to have the right tools and skills to achieve that level of quality.
3. The amount of time and effort you’re willing to put into achieving a great finish is also important. If you want to achieve a professional-looking finish, be prepared to invest the time and effort required to do so.
With these things in mind, you can begin to narrow down your options for achieving a great finish on your next project. With the right approach, you can achieve any kind of finish you desire.
If you have ever wondered whether or not you can paint pressure treated wood, the answer is yes! In fact, painting pressure treated wood is a great way to protect it from the elements and extend its lifespan. However, there are a few things you need to know before you start, such as how to prepare the surface and what type of paint to use. Keep reading for everything you need to know about painting pressure treated wood.
Before you start painting pressure treated wood, it is important to understand that the process is different than painting regular wood. Pressure treated wood is infused with chemicals that make it resistant to rot and insects, but these same chemicals can also make it difficult to paint. As a result, it is important to take the time to properly prepare the surface before painting. This will ensure that the paint adheres properly and does not peel or flake off over time.
To properly prepare the surface of pressure treated wood for painting, start by sanding it with medium-grit sandpaper. This will rough up the surface and provide a good key for the paint to adhere to. Next, wipe down the sanded surface with a damp cloth to remove any dust or debris. Once the surface is clean, apply a primer designed for use on pressure treated wood. This will help the paint adhere better and provide an extra layer of protection against the elements. Finally, once the primer is dry, you can begin painting your pressure treated wood with a quality exterior paint.

continue reading